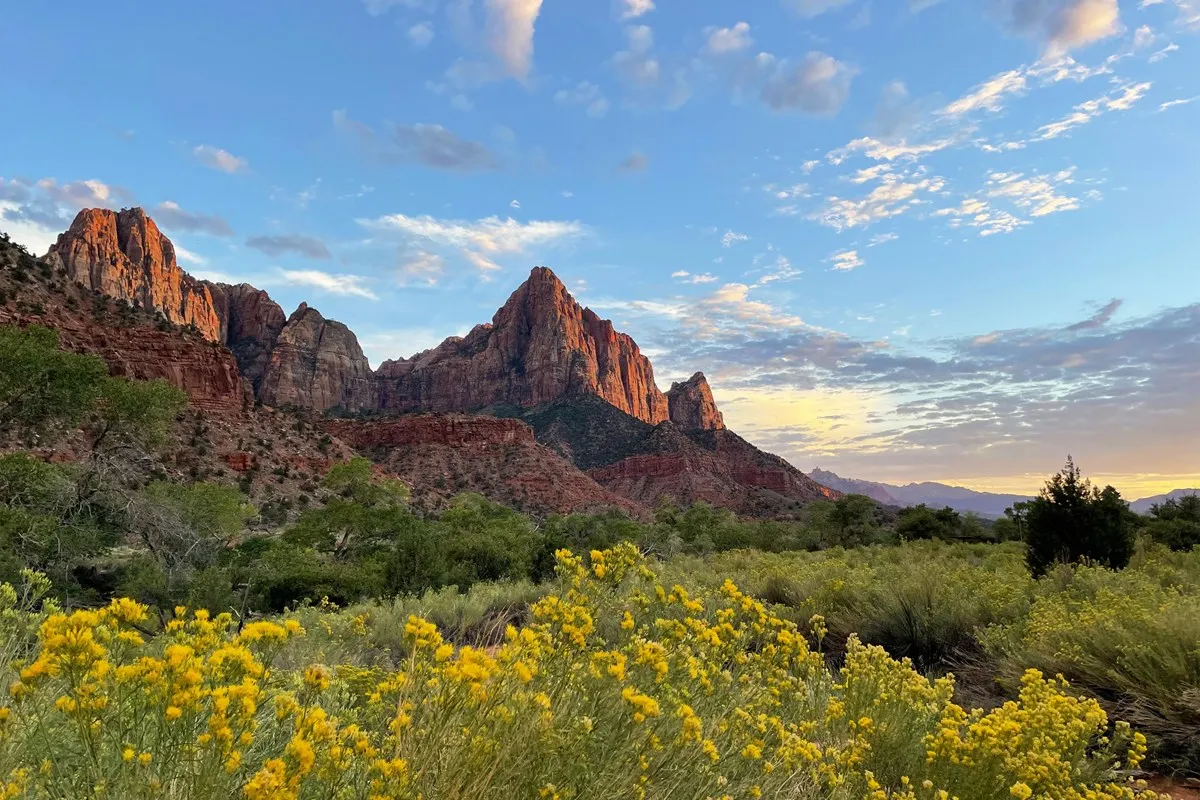
Zion Canyon’s sandstone walls rise above the Virgin River in southern Utah, drawing visitors who come for viewpoints, riverside walks and challenging hikes. The scenery is easy to admire, but a first visit takes some planning: shuttles, permits, heat and flash-flood conditions can all shape the day.
These seven tips focus on Zion Canyon and use National Park Service guidance. Check the park’s current conditions and shuttle schedule before traveling, since closures and seasonal operations can change.
1. Understand the shuttle before you arrive
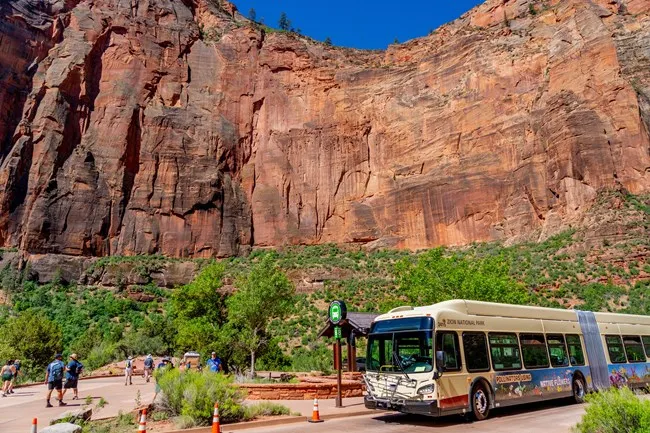
During shuttle season, personal vehicles are not allowed on Zion Canyon Scenic Drive, including before the first shuttle and after the last one. The free Zion Canyon Line connects the visitor center with canyon stops and trailheads. No ticket or reservation is needed to ride, although normal park entrance fees or a valid pass still apply.
The Springdale Line connects stops in town with the park’s pedestrian entrance when it is operating. Both routes have seasonal schedules. Parking at the park often fills early, and paid parking in Springdale is another option; check current details and allow time for the transfer.
Read the schedule before setting out and do not wait for the final shuttle. The NPS warns that missing it or finding it full can leave a very long walk back to the visitor center. Keep the return time in mind when choosing a hike.
2. Choose a hike for the whole group
Zion offers more than its most famous strenuous routes. Ask a ranger about current trail conditions and choose a walk that fits the group’s abilities, the weather and the time available. A short riverside walk can be a rewarding introduction without a steep or exposed climb.
Carry water, sun protection, food and layers suited to the forecast. In summer, start early and avoid strenuous exertion during the hottest hours. In winter, ice or snow can make shaded trails hazardous. Rockfall, maintenance and storms can close routes in any season.
Accessibility varies by trail and shuttle stop. Contact the park or consult its accessibility information for current details if grades, surfaces or boarding are important for your party. Do not assume a route described as easy is suitable for every visitor.
3. Know where an Angels Landing permit is required
Hiking the exposed final section to Angels Landing requires a permit issued through the park’s lottery system. Apply through the official process and carry the confirmation as instructed. A permit does not remove the need to assess weather, fitness and comfort with heights.
The route has steep drop-offs and can be especially dangerous with ice, strong wind or storms. Follow closures, stay on the route and be willing to turn around. The NPS identifies other West Rim options for views, but check the current trail status and permit boundaries before choosing one.
There is no need to build an entire trip around a single permit. Zion’s canyon, viewpoints and less exposed trails offer many ways to experience the park. Select an alternative before arriving so a missed lottery or poor forecast does not create pressure to take risks.
4. Treat the Narrows as a river hike
The Narrows involves walking in the Virgin River over slippery, uneven rock. Hiking upstream from the Temple of Sinawava does not require a wilderness permit, but water level, weather and physical readiness still determine whether it is appropriate. Ask rangers about current conditions and equipment before starting.
Flash floods can occur quickly, including from storms upstream. The NPS closes the Narrows when the river exceeds its specified flow threshold or a flash-flood warning is issued. Never enter a closed canyon, and leave immediately if conditions deteriorate or rangers direct visitors out.
The park also warns about toxic cyanobacteria. Do not drink river water or submerge your head; carry water from a potable source and follow current NPS water-safety guidance. Keep pets away from hazardous water and check park rules about where animals are allowed.
5. Plan for heat, water and narrow spaces
Zion’s desert setting can bring intense heat, while canyon shade, cold water and changing weather create different hazards. Drink sufficient water, eat and rest, and adjust the route when conditions are extreme. A trail that looks short on a map may involve steep grades or a slow return.
In slot canyons and washes, check the forecast for the entire drainage, not only the sky overhead. Avoid entering when storms or flash floods are possible. Rangers can explain current alerts, but visitors remain responsible for choosing an appropriate route.
Stay on established trails, keep back from cliff edges and leave rocks, plants and cultural objects undisturbed. Respect other visitors on narrow paths and do not feed wildlife.
6. See the park beyond Zion Canyon
The Zion–Mount Carmel Highway and Kolob Canyons area offer different landscapes and access arrangements from the main canyon shuttle route. Check current road and tunnel restrictions, particularly for large vehicles, before planning a drive. These areas are separated by travel time, so do not assume they can be added instantly to a full day in the canyon.
Use designated pullouts and avoid stopping in traffic for photographs. Weather, road work and seasonal closures may affect access. A quieter viewpoint or shorter walk can make a satisfying second day without repeating the busiest part of the park.
7. Leave time for Springdale and the return
Springdale has lodging, food and services near the south entrance. Book what you need in advance during busy periods and check the shuttle schedule for your dates. Carry out litter, follow pet rules and give wildlife and other visitors space.
Before leaving, review NPS alerts, road conditions, the forecast and the last shuttle time. A flexible itinerary lets the canyon’s weather and your group’s energy guide the day.